
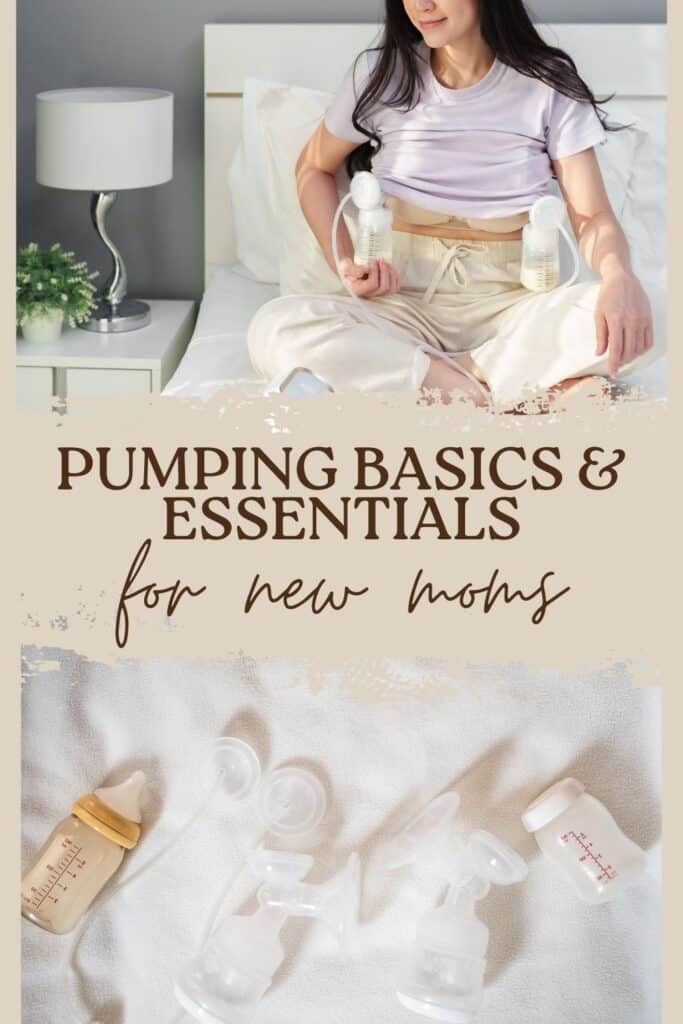
When I began pumping at three weeks postpartum, I was overwhelmed by all the gear, gadgets, and opinions out there. If you’re a first-time mom, trying to figure out what you actually need for pumping at home can feel like a losing battle.
Whether you’re exclusively pumping or pumping while nursing to build a stash, this post breaks down the needed pumping essentials for home.
I’ve also included general pumping tips, an exclusively pumping schedule and a pumping while breastfeeding schedule!
Returning to work soon? I’ve listed all the essentials you need for pumping at work in this post. The transition back to work is hard enough, but pumping at work doesn’t have to be.
Disclosure: This post contains affiliate links, which means I may earn a small commission at no extra cost to you if you make a purchase through one of my links. I only share products I truly love and personally use or recommend. Read more about our Disclaimer Policy. Thank you for supporting my blog and my little family!

Must-Have Pumping Essentials for Home
Let’s start with what you actually need to make pumping at home manageable and even, dare I say, a little easier! You definitely don’t need all the things, so this list should cover everything:
1. A Reliable Double Electric Breast Pump
This is your MVP. Whether you’re exclusively pumping or just adding sessions in between breastfeeding, a high-quality double electric pump will save you so much time and energy.
Some popular brands include Spectra S1/S2, Medela Pump in Style, and Motif Luna. I personally use the Spectra S1 pump. I love that it has a plug-in for the wall AND battery life so it’s portable.
The suction is great and it has a massage setting to stimulate let down. It also has a built in night-light for middle of the night sessions. This is a very popular, well-rounded electric pump!
2. Pumping Bras (For Hands-Free Pumping!)
A pumping bra is a game-changer. It allows you to multitask, scroll Pinterest, or drink coffee while you pump.
This Kindred Bravely pumping and breastfeeding bra works well for me! It feels high quality and I love that it comes with a free band extender so you don’t have to size-up while weight is fluctuating postpartum. Six months into using it daily and it still holds the bottles well, no material stretching that I see!
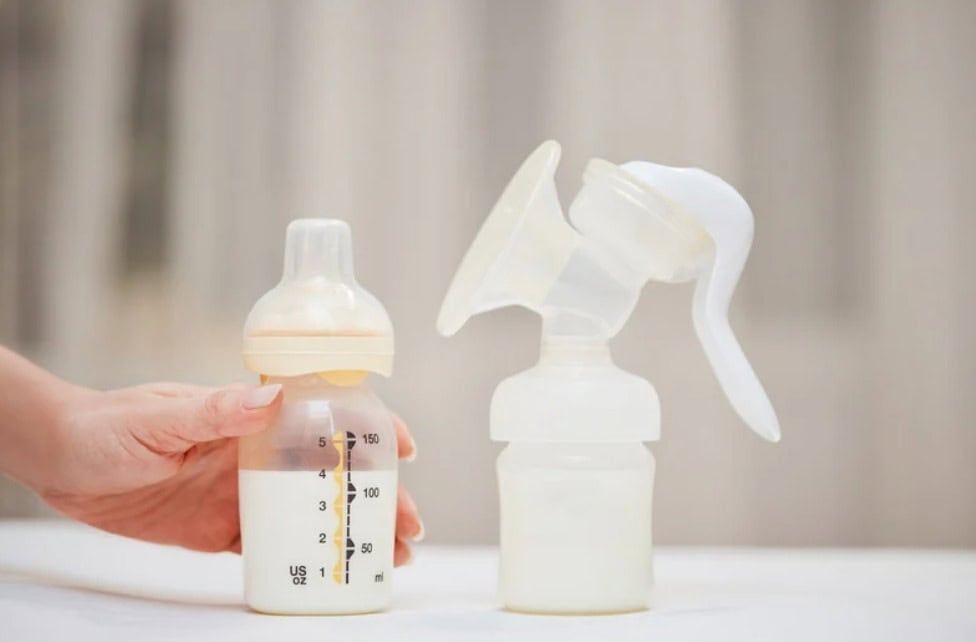
3. Extra Pump Parts & Bottles
Having extra flanges, valves, membranes, and bottles on hand is so helpful. Washing everything after every pump session isn’t always realistic, especially in the early days when you may be pumping 7-8 times a day if you’re exclusively pumping.
I’ve survived with having two sets of everything, but it would definitely be easier to have more! Just make sure the extra sets you purchase are compatible with your pump.
4. A Comfortable Pumping Station
I highly suggest you set up a cozy nook for yourself with a supportive chair, water bottle, snacks, burp cloths (because leaks happen), and a small caddy for all your pump supplies.
Feel free to dedicate a whole tier to pumping on your postpartum bedside cart if you have the space! Read this post to find my postpartum bedside cart essentials. If you’re breastfeeding and pumping, this space can double as a nursing station, too.
5. Storage Bags & Sharpie
Labeling and freezing your milk properly helps avoid waste and confusion later on. I always include the date and approximate time I pumped on the bag.
I used to track ounces too, but I found it to be a waste since there are measurements on the bags themselves. And sometimes we’d only use a partial bag, so the measurement was no longer accurate. Do what works for you though!
If you’re freezing your milk, I wouldn’t put more than 6 ounces in a bag. We prefer to freeze in 2 and 4 ounce increments since this is what we normally feed Oliver. And lay them flat to freeze! This makes storing them much easier and saves space.
I’ve tried the Medela, Lansinoh, and Sposie bags and I love the Sposie breastmilk bags best! I find they’re sturdy, leak-proof, BPA-free, and have a tearable pouring spout and temperature sensor. Plus, the cute designs make me smile.
💌 Want honest, helpful mom tips (without the overwhelm)?
Grab Your FREE New Mom Starter Pack!
This starter pack is packed with essentials every new mom needs:
- Top 5 Baby Essentials – the items I actually used every day
- + Bonus Postpartum Recovery Must-Haves – simple tools to help your body heal and feel supported
When you sign up, you’ll also get The Monthly Mama Moment, a cozy once-a-month email with:
- Real-mom favorite baby gear 🍼
- Easy, mom-friendly meals + snacks 🍽
- Must-listen podcasts and must-read books🎧📖
- Little joys that make motherhood feel lighter 🤎
👉 Fill out the below to get your Starter Pack!
6. Breastmilk Cooler Thermos
If you need to store milk for a few hours before refrigerating or freezing, I highly recommend a cooler thermos (or cooler bag and ice packs). I keep my thermos handy for pumping in the middle of the night and pumping in the car.
I personally don’t like the one I have; it was cheaper and the quality shows. If I were to buy another, I would buy this MomCozy portable breastmilk cooler thermos!
7. Breast Milk Catchers
If you nurse and pump, Haakaa Ladybugs are amazing! They collect letdown without the bulk of a pump and can help you build a stash without even trying.
I loved this as a passive way to build a stash in the early weeks postpartum before I started pumping. I find the 2.5oz size is perfect for me.
8. Cleaning Supplies
Cleaning pump parts is my LEAST favorite thing, but it’s a necessity. These plant-based breast pump wipes are a saver for quick cleans and on-the-go. This bottle cleaning kit helps get into all the nooks and crannies, like in the bottle nipples!
And a microwave sterilizer bag is a must. We debated getting one of the counter-top cleaners and sterilizers, but the cycles are usually so long. We wanted a quick option that’s reusable, so we landed on this BPA-free silicone microwavable steam pump-part sterilizer! I LOVE it. It sterilizes in 3 minutes!
And we personally don’t have a drying rack and we’re fine. We just place all the parts on a microfiber towel next to the sink to dry.
9. Nipple Cream and Silverettes
Don’t forget to take care of yourself! Breastfeeding and pumping takes a lot of effort, and your nipples go through so much! They can get sore, especially if you’re new to pumping.
Nipple butter (to help heal and lubricate the pump flanges) and Silverettes (to also help heal) were lifesavers, especially in the early days!
10. A Tracking App or Notebook
Whether it’s to log ounces, session times, or just keep track of which side you last pumped or fed from, tracking helps you stay organized and motivated.
We love the Huckleberry app! Seriously, I wouldn’t be able to do this whole mom thing without it. It tracks diapers, medicine, sleep, eating sessions, activities like baths and tummy time, growth charts, and so much more.
There’s a free version that’s SUPER helpful. The paid version includes suggested nap times called “Sweet Spots” and is 100% worth the price!

Pumping Basics Every New Mom Should Know
When you’re new to all this, every drop of milk feels like a gold medal. Here are a few things I wish I had known when I started pumping:
- Pumping output varies! You may pump 1 ounce one session and 4 the next. That’s normal. It’s also normal for one breast to produce more than another.
- It takes time for supply to regulate: Consistency is key.
- Hydration and calories matter. Drink 100 ounces of water daily if you can, and eat nourishing meals and snacks. You require more calories while breastfeeding than during pregnancy!
- Stress impacts supply. Easier said than done, I know, but try to stay relaxed during pumping sessions and keep overall stress managed.
- Lubricate your flanges. Using a little bit of nipple balm before pumping can reduce friction and make the process more comfortable!
- Lastly, find an infographic on the most updated breastmilk storage guidelines and save it to your phone or print it out and pin to your fridge.
Trying to boost your milk supply or build a freezer stash? Get my free Power Pumping Schedules — simple, step-by-step plans to help you maximize pumping (in either 1 hour or 30 minute stretches) and grow your milk stash!
Sample Pumping Schedules for New Moms
The next big learning curve: when should I pump? The answer is, it all depends on your goals (just to feed baby, to build a stash, etc.). Here are some sample pumping schedules based on if you’re exclusively pumping or combo feeding (pumping and breastfeeding):
Exclusively Pumping Schedule (Newborn Stage)
- For 8 feedings/day, pump at: 6:00am, 9:00am, 12:00pm, 3:00pm, 6:00pm, 9:00pm, 12:00am, 3:00am
That’s 8 sessions per day, mimicking a newborn’s general feeding schedule to help establish supply. But some newborns can feed up to 12 times a day! You can pump every 2 hours to reach that cadence, if needed.
Combo Feeding Pumping Schedule
- Morning: Did you know your milk supply is highest in the mornings? This is because of hormones! Complete a pumping session after the morning feed.
- Mid-day: After a feed or during a missed feed (e.g., baby naps longer)
- Before bed: Great time to add one last stash-building session!
Final Thoughts
Whether you’re exclusively pumping or combo feeding, remember: you’re doing amazing. Pumping is a labor of love, and it takes time, patience, and a little trial and error. With the right pumping essentials for home and a pumping schedule that works for you, you’ll find your rhythm.
You’ve got this, mama 🤎